This guide will cover the following, and we strongly suggest that you read through everything so you can be comfortable in managing your own website.
- All Pages
- Published Pages
- Draft Pages
- Trash
- Edit
- Quick Edit
- View
If you haven’t read our other guides about creating a new page, and showing the pages listed, then you should definitely get started.
>> Guide to Creating a Page | >> Guide to Listing All Pages on your Admin Backend
Let’s get started, shall we?
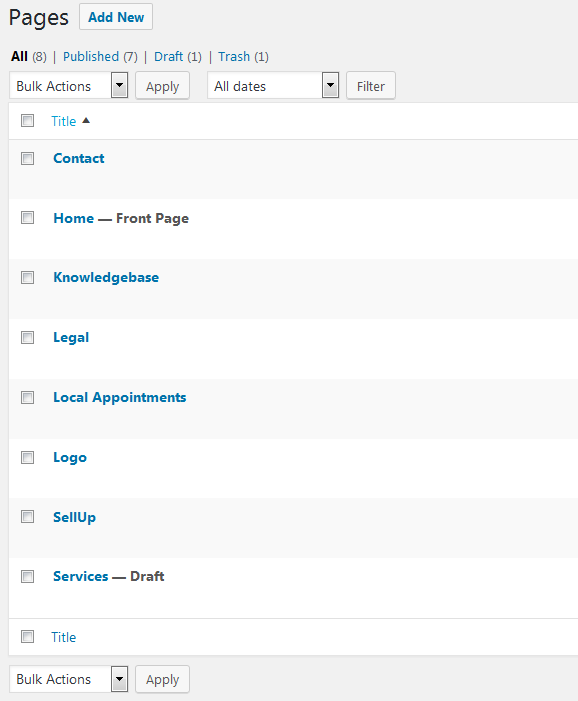
All Pages
By default, this is where you’ll see when you access the Pages link from the admin backend. This lists all the Pages that you have created or we’ve setup for you.
Published Pages
Published Pages are actual pages that will show up on your site and search engines, like Google, Yahoo and Bing! These Pages can also be linked to your Navigation menu, aka the main menu of your website.
Draft Pages
Draft pages are basically pages that hasn’t been published. This means that even if other people has the link to that page, they will not be able to access that page.
All Pages created are auto-saved, meaning if you accidentally exit your browser, you have a good chance that your site automatically backed up the page that you’re trying to edit.
Trash
Pretty self explanatory, but all Pages sent to trash will go here.
Edit Page
When you hover on a Page name, it will show you 4 mini navigation links: Edit, Quick Edit, Trash and View.
When you select Edit, you will be taken to a new page where the full editor will show up, letting you edit everything on that page. make sure you click Update or Publish if you’re trying to make those changes.
Quick Edit
When using Quick Edit, you can access everything but not the full editor. You can edit the slug, page name, etc.
View
If you’re trying to see how your Page looks like, all you need to do is to select View. If you’re done, simply click on the back button.
Congratulations, you’ve mastered the Pages controls!
Recent Comments